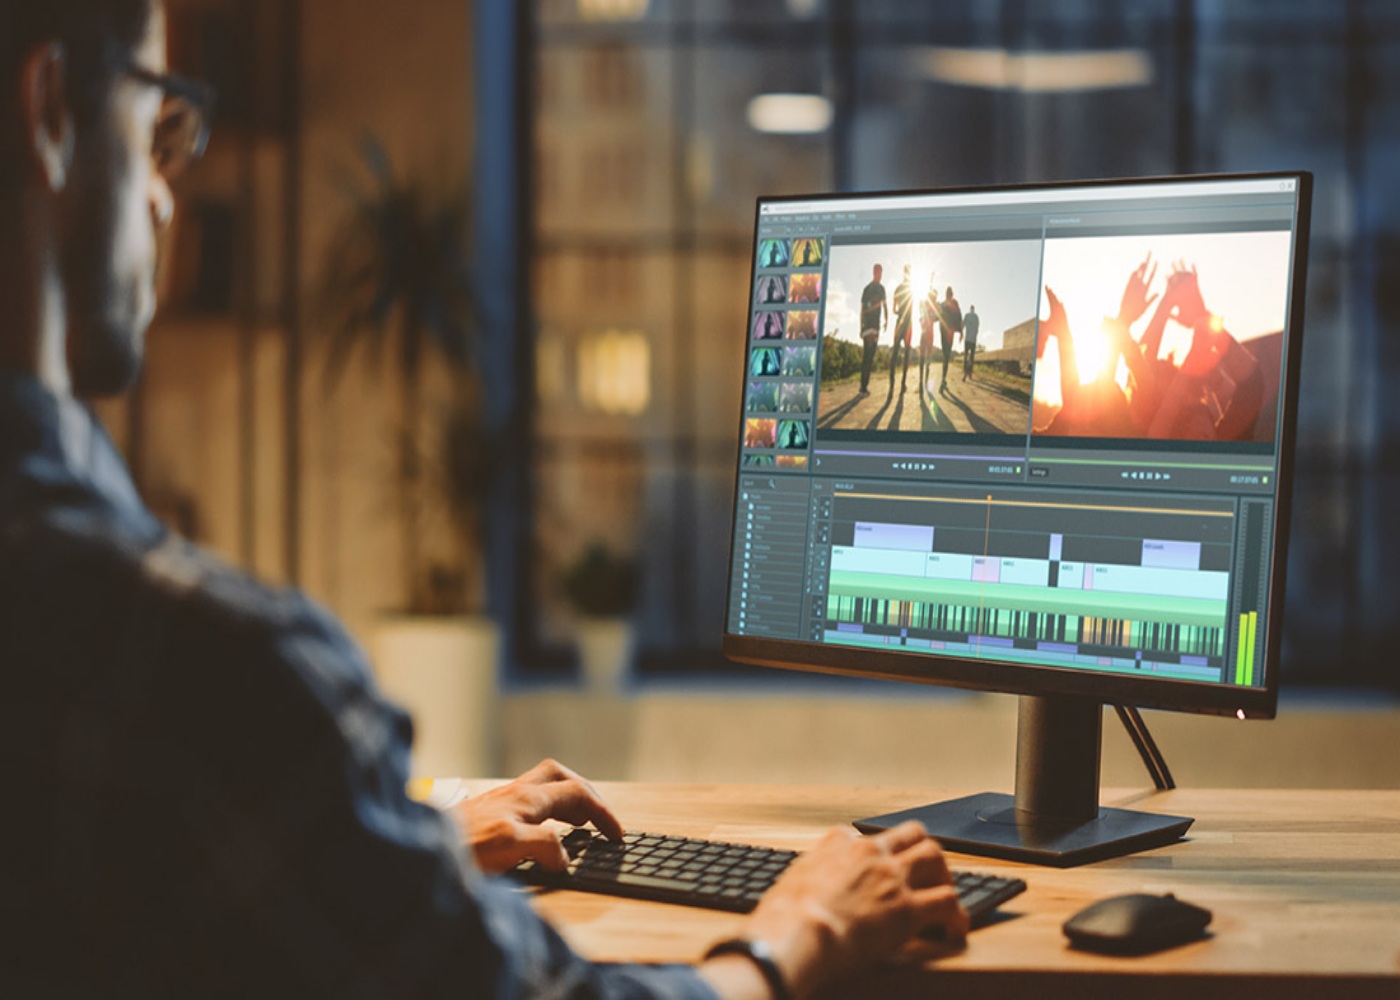
Motion graphics are a way to communicate with the viewer and add depth to the story. Together with music and effective copy, they can give us a message. We use them to create ads, title sequences for movies, [explainer](Put simply, motion graphics are animation, with text as a major component.) videos, and to share information. Many of our templates use motion graphics to help you communicate your message.
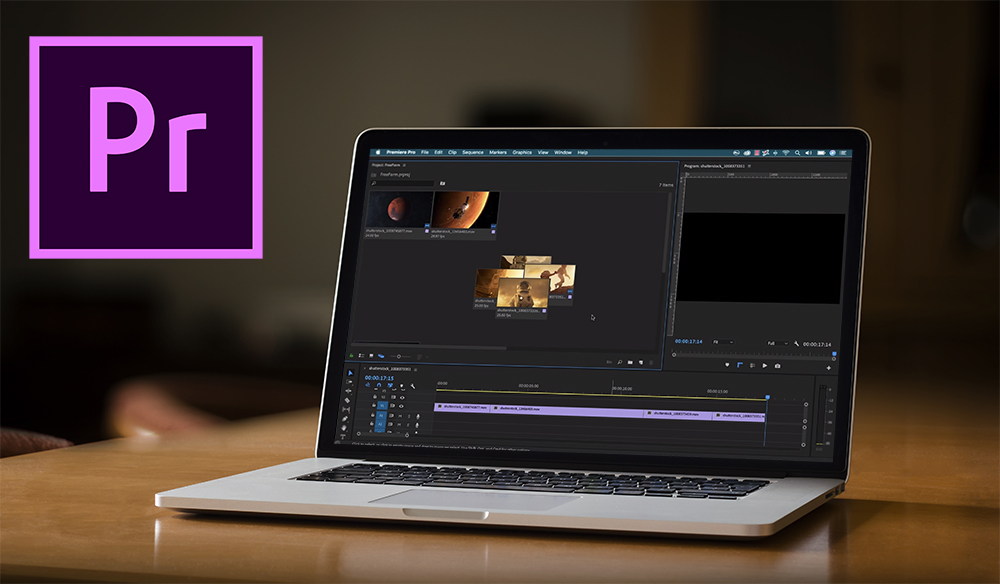
When you start getting into more professional graphics, one beautiful effect is placing text behind moving objects. Done right, this look elevates production quality dramatically. There are even some different ways to implement it in your shot so it has versatility. It’s not that hard to do today either when working in a modern NLE such as Adobe Premiere Pro CC and there are a couple of ways to do it.
Storysium provides a two-method tutorial for creating the text behind the moving objects effect. The first is quicker but far from foolproof while the second can hopefully work with a wider range of scenes without being too taxing.

METHOD 1: HIGH CONTRAST SCENE
The first method is easy if it works. For it to work you will want a very high contrast scene where your foreground is in deep shadow and your background has bright highlights. These are the steps to follow:
1. Your first step is to create the text using the text tool.
2. Get it ready and position it where you want it.
3. Then set the text layer to match the length of the clip. This method uses blend modes to great effect. The “Darken” option blends the text layer with anything darker in the shot, meaning all the foreground elements in shadow. It should work right away.
In this example, however, the text goes behind everything dark, including the window seams. You can experiment a lot with blend modes. Just because one doesn’t work doesn’t mean you won’t find another.
When it works, it’s super easy.
METHOD 2: REVEAL
This method is a reveal. The text appears to come out from behind an object in the scene. In this case, it will be a cliff. Again, follow these steps:
1. You’ll again create text and match the length with the clip.
2. Put it where you want it to be.
3. Duplicate the video layer and drag it to the third track—above the text layer.
4. Once there, lower the opacity to 95% so you can start to see the text layer.
5. Selecting this layer you’ll head to the effects tools and select the pen tool in the mask options.
6. You’ll likely want to zoom in to work more precisely. Then just draw a nice, precise mask around the object.
The more accurate the mask the better the effect will look. You also only need to do it where the text is seen. Depending on the edge, you may want to reduce the edge feather to match a sharper object. Viewing at greater than 100% will help.
7. To make the mask move you’ll then need to create some keyframes.
8. Make a keyframe at the end and then head back to the beginning of the clip.
9. Move and adjust the mask as needed.
10. Then, scrub through the timeline and make changes when you see it goes off.
11. Head through the entire clip.
It’s a good tool and a fun one if you want to get a higher-class look at some of your titles. Graphics are an essential part of the overall appeal of a movie. Used well, it can leave lasting memories in viewers’ minds. All that it is going to need is some professional touch.
For more information on Movies, Cinema, Lifestyle, Content, and Corporate Video Production you can always trust Film District Dubai. We create inspiring content that works for Consumer & Luxury brands, Property & Construction, Travel & Hospitality, Food & Beverage, and Sports.


