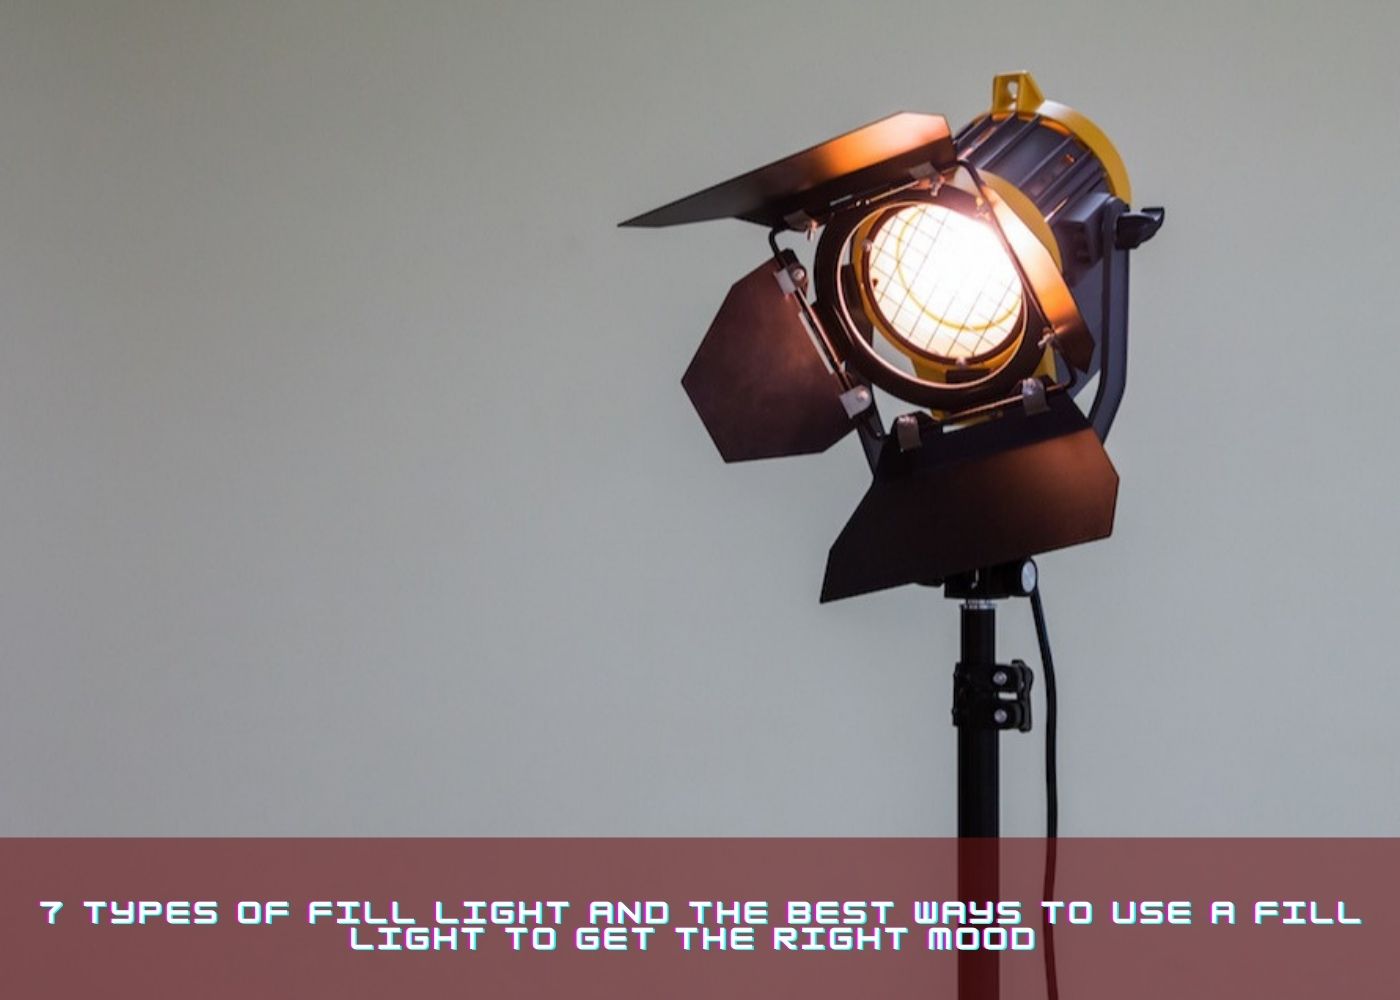
Cinematographers in film production think about their lighting setup and how it affects the mood they want to create. When a key light is used in a three-point lighting configuration, dramatic, dark, and deep shadows are created, creating an atmosphere that is appropriate for a noir or horror film.
A cinematographer will balance out the key light with a fill light if they desire a lighter, airier mood—or even just more visible detail in the shadows.
What Is a Fill Light and What Is It Used For?
Fill light is a weaker light that sits opposite the principal key light in classic three-point lighting. It will essentially fill in the high-contrast shadows created by the key light on a subject's face from this other viewpoint. The fill pulls out details in the dark to create the tone that the cinematographer wants.
There are numerous types of lighting approaches you can employ to get your desired fill light effect in a scene:
1. Lighting Units: The most visible source of fill light is light. A lighting rig, on the other hand, might be beyond your financial means. If you just have one light to work with, the key light should always come first.
2. Reflectors: The key light is simply reflected towards the subject by these modifiers, which are cheap, portable, and come in a range of sizes and colours. The shade will be altered by the reflector's colour. Warmer tones will be produced by using a gold reflector. Many reflectors are small and do not require the use of a light stand to set up.
3. Walls. Walls and ceilings can also operate as big light reflectors, reflecting the main light. This contributes to the creation of a gentle and soft lighting impression.
4. Fabric. When it comes to selecting a reflector, another choice is clothing. You might want to have your staff wear some lighter-coloured clothing to create a subtle impression.
5. Flash. A flash is also a good technique to add fill light. A flash will reduce shadows and go a long way in a well-lit setting. Another benefit of employing a fill flash is that it allows you to photograph your subject with the sun behind their back. A strobe light is comparable to this. A strobe can be a useful tool, despite being more expensive and more difficult to set up. It can be positioned wherever on set for the desired effect because it doesn't require a key light to bounce off of it.
6. Filling in the blanks When a cinematographer needs a darker fill light than natural light can offer, they simply use a black or opaque flag put on a butterfly frame to block the ambient light. The excess light will not bounce back at the subject as a result of this. How much negative fill you utilize is determined by the amount of light you want to absorb.
7. Spill Fill. Stray light, such as light leaks, can wreak havoc on a shot during production. Working in a dedicated studio area, where you have more control over light sources and spill becomes a more predictable variable, is the greatest method to avoid this spill.
Fill Lights: How to Measure It
A "fill light ratio," also called a "key/fill ratio," is used by cinematographers to measure fill lights.
1. The fill light ratio defines how much light comes from the primary key light and the secondary fill light, which fills in the shadows created by the key.
2. When your subjects are people, a lower, more balanced fill ratio, such as 2:1, gives a soft, pleasing effect that also tends to cover skin flaws. This soft light is known as "high key lighting," and it is used frequently in sitcoms and comedies to generate a cheerful, youthful, light, and airy feel.
3. The key casts sharp-edged shadows that contrast dramatically with the light in larger fill ratios, as 8:1, when the key is eight times stronger than the fill. This is "low key lighting," which may convey a wide range of profound negative emotions while creating a dramatic, mysterious, frightening, and alienating tone. As a result, gloomy dramas, thrillers, horror, and film noir frequently use it.
Fill Lighting: 6 Techniques
Fill lights are used in a variety of ways by Hollywood cinematographers to create various appearances and moods. Before breaking the rules, learn the basics, as is standard procedure in all fields.
1. The impact of light placement on the image you create is enormous. It's recommended to place a fill light at an angle that's roughly opposite the key, or primary light.
2. The fill light is usually dimmer than the key light, which is the main source of illumination. It's common for the fill to be half as bright as the background. Using diffusers and modifiers, as well as altering the distance from the subject, you may modify the brightness of the fill light.
3. Silks, scrims, and neutral density gels are some typical diffusers that can be used to soften hard light. These methods can all diminish light without changing its colour.
4. Experimenting with different bulbs to create a different effect is also a good idea.
5. It's critical that the fill light is undetectable and does not cast its shadows. Dim the source's brightness if the fill light is casting a second shadow.
6. The camera determines where shadows fall and creates an environment based on where you place your lights relative to your subject. If your main light is supposed to represent the sun, it should reflect the sun's angle and height correctly. Whether you cast deep, dark shadows or an optimistic, even light throughout your picture is determined by how you set your fill and backlight.
We are a fully operational internet-based marketing company based in Dubai. We are committed to developing effective content and strategies for corporate brands who want to shine their business in the online world.


